
This is a recipe that I have practiced to a fine art and perfected. I make it for special events and holidays. My family and friends LOVE IT! Everyone has been bugging me to teach them, or share the recipe. So I put together this recipe page with detailed picture instructions. With this information, you should be able to make your own delicious butter toffee just the way you like. Whether that is plain, or with nuts, or chocolate (like Almond Roca or Heath Bars). You can even crumble it up over / into other things like pecan pie, cookies, baklava, etc.
Valentine Family English Butter Toffee
1 cup (2 sticks) butter
1 cup granulated sugar
3 tablespoons water
1 tablespoon light corn syrup
TIP: If you need more, please do multiple / separate batches. Doubling the recipe changes the texture and the cooking time...
Directions:
Keep your pan on medium heat. In a heavy-bottom 2-quart (or more) sauce
pan, melt the butter. Stir constantly,
and use only a *wooden* spoon. Next, add
the sugar, water and corn syrup; blend well.
Cook until sugar is completely dissolved, stirring very frequently (or
constantly, if you wish).

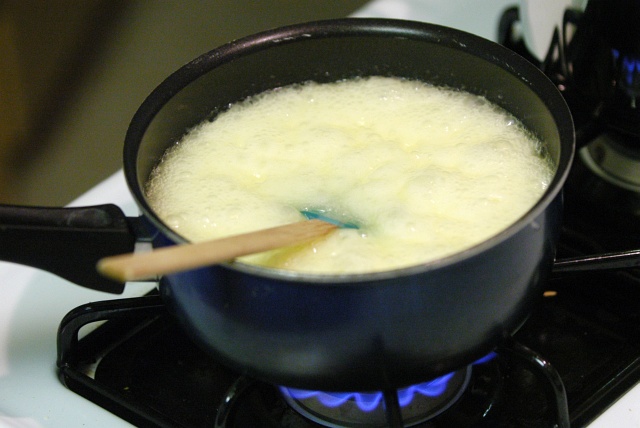
Allow mixture to come to a boil. It will look like thick, frothy bubbles. Continue boiling until mixture 290 degrees F,
on a candy thermometer (or if you don't have a candy thermometer, then this should take about 25 minutes). Again, stir as frequently as possibly. Constantly is best, if you can. Some people like to keep a stool by the
stove. Not stirring it enough will
result in separation of the fat from sugar, and uneven texture. Possibly even burning.
Eventually, the candy will change into a very dark tan
color, and it will become very thin and smooth.
At this point, keep a wide-bladed knife by the stove. Knives are the best testing tool, because they are metal so the candy won't stick, and they're thin, so it will cool fast.
With the wooden spoon, collect a small bit of the candy and spread a very thin string of it across the blade of the knife. Let it cool for a minute. Then pick it off the knife and taste it. When the candy is ready, it should get hard when it cools, but it should crumble VERY easily when you bite down on it. This is called being at the “soft crack” stage. The candy is now ready.
With the wooden spoon, collect a small bit of the candy and spread a very thin string of it across the blade of the knife. Let it cool for a minute. Then pick it off the knife and taste it. When the candy is ready, it should get hard when it cools, but it should crumble VERY easily when you bite down on it. This is called being at the “soft crack” stage. The candy is now ready.
Know that each time you make butter toffee, the color may be slightly different (lighter or darker). This is normal. Its because when the candy is at the final / finished stage, it literally only takes SECONDS for the color to darken. So depending on exactly when you pour it out, it may be slightly lighter or darker. You will get to know about where you like it. But once it is ready, pour it out immediately, as it can burn very fast at this stage.


Have a thin, clean metal baking sheet near by (or metal
candy molds). Pour the candy onto the
baking sheet, and spread it out as much as possible in a thin layer (about 1/4 inch thick), either
with the wooden spoon, or by tilting the baking sheet different ways. Allow the candy to cool completely, then
break into pieces (or pop out of the candy molds) and serve.
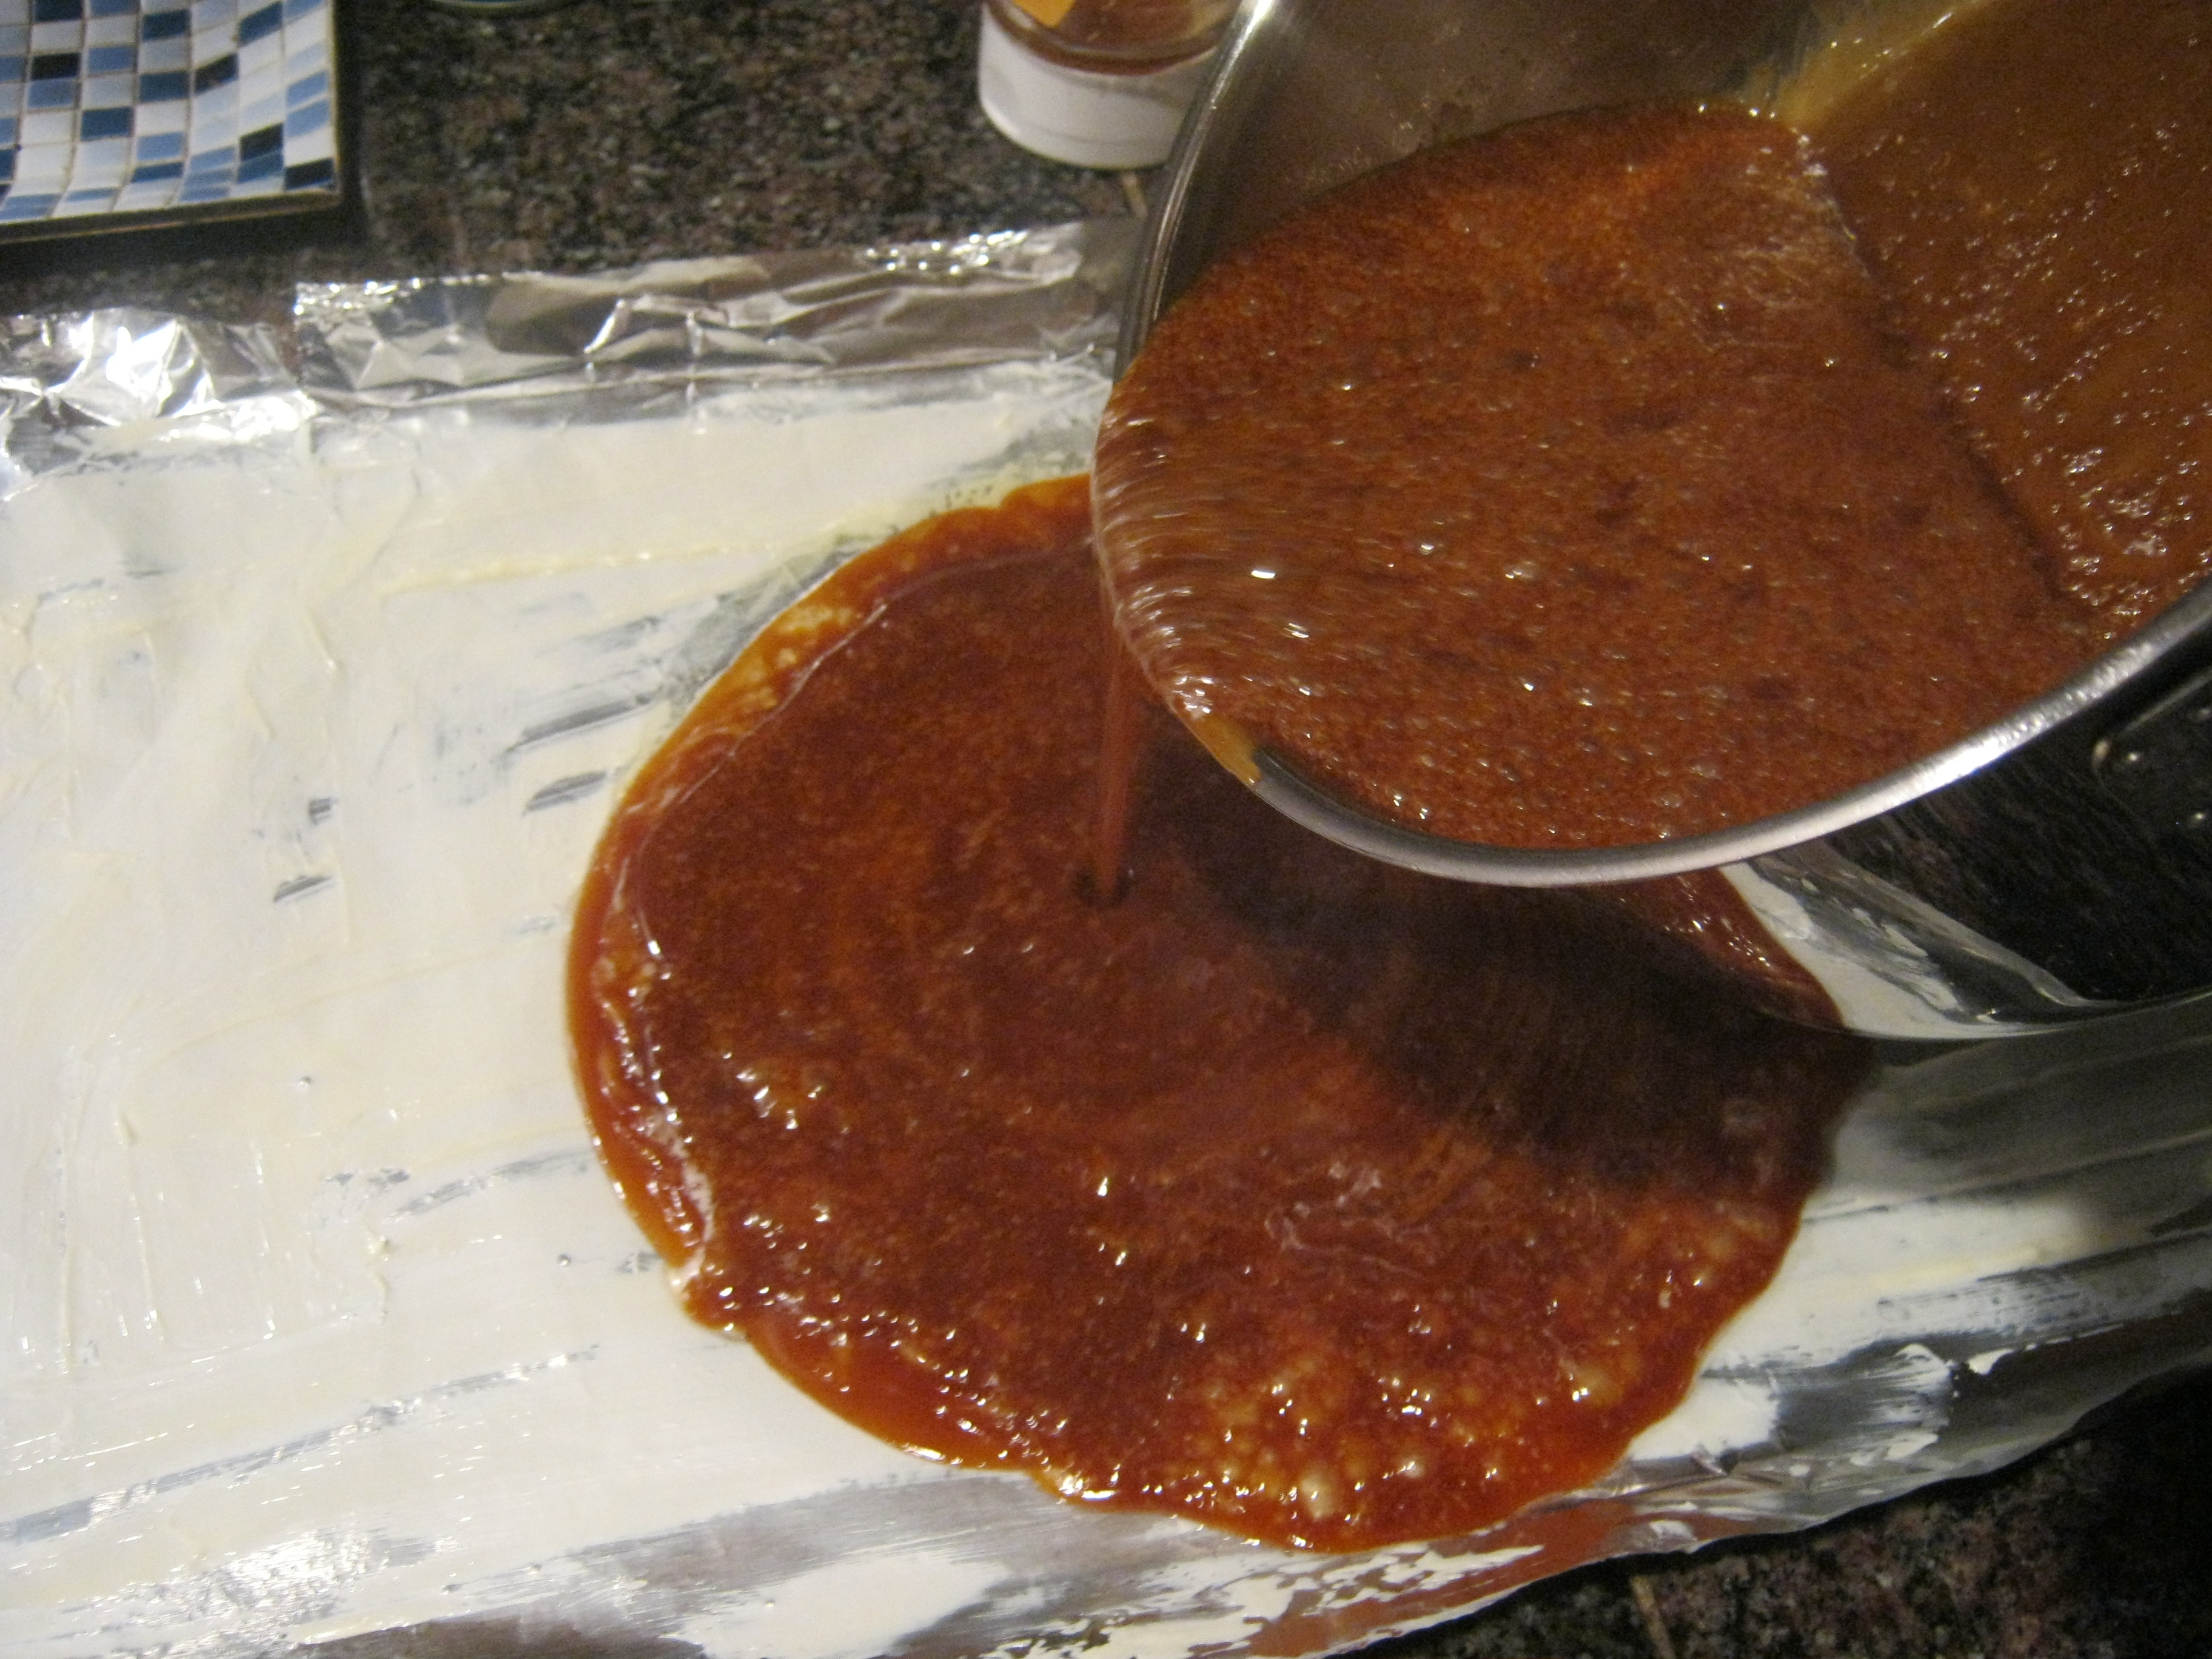

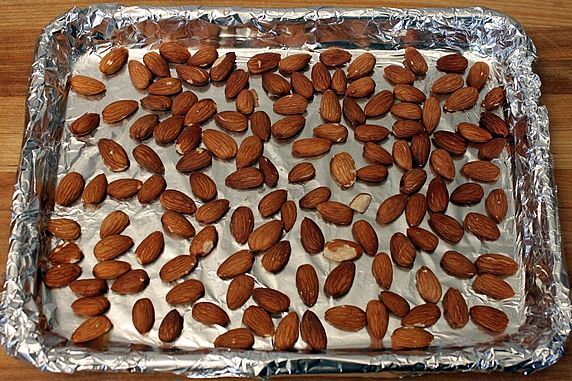
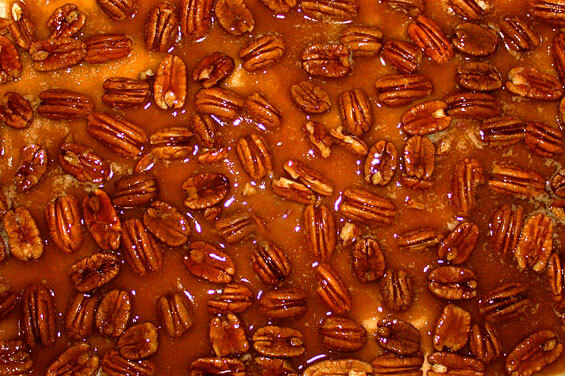
TIP: If you wish to add nuts to the mixture, you can do so at this point. Simply spread the nuts out on the baking sheet BEFORE pouring out the candy. NEVER add nuts to the candy while cooking. The nuts will release oils into the candy and this can ruin the texture. Always add nuts (or anything else) at the end when the candy is poured out:
If you are really quick about it, you can also cut the candy into small rectangles or squares while it is still warm and soft.

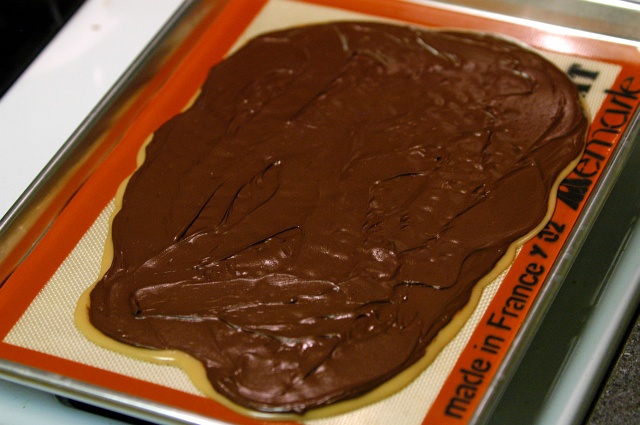
If you want chocolate or anything else (more nuts) on the top or outside of the candy, you can add this after the candy has cooled. Either melt some chocolate and spread or drizzle it over the top of the candy:

Or after you have either broken it into pieces, or separated it from the mold, you can dip it in the chocolate. Which ever way you like.

Store in sealed, air-tight container (or a zip-loc baggie), as air will eventually cause the candy to become
sticky or chewy.
CAUTIONS AND TIPS:
* It takes the candy several minutes to cool. So NEVER let the candy touch your skin when its
hot (still soft or liquid). Candy burns can penetrate several
layers of skin within seconds, and hot candy is very difficult to wipe/wash
away.
* Do not grease the baking sheet, as the extra fat will ruin
the texture of the candy. As the candy
cools, it will sweat out some of its own oils, and you will be able to remove
it from the baking sheet quite easily with a spatula.
* Also, once again-- NEVER add extra water, extra butter, nuts, or any
other ingredients to the candy while it is cooking. Other ingredients will release components
into the candy, and ruin its texture. If
you want to add anything to the candy (nuts, etc.), spread it out on the baking
sheet, and pour the candy on top of it.
If you wish to add chocolate, wait until the candy cools, and dip it in
melted chocolate.
* Finally, never put wax paper or parchment paper on the
baking sheet. The candy will be
EXTREMELY hot, and it will melt these papers, causing them to fuse with the
candy, and you won’t be able to remove them. Extra thick foil is sometimes ok, but if its too thin, it can shred when you try to peel it.
Enjoy, everyone!
No comments:
Post a Comment