Sunday, November 13, 2022

Snowball Cookies


Snowball cookies are basically small, round shortbread cookies containing nuts, and dusted with powdered sugar. They are a buttery delight during holidays. This treat is actually quite popular all over the world-- although in different countries, they may go by different names.

For example, they are also known as “Mexican Wedding Cookies”, Russian Tea Cakes, Italian Wedding Cookies, Snowdrops, or Butter Balls. But whatever you call them, they are easy to make and a real crowd pleaser during holidays, parties, special events, or just a snack any time. 


Snowball Cookies


Ingredients:

1 cup unsalted butter, softened but not melted

5 tablespoons granulated sugar

2 tsp pure vanilla extract

¼ tsp salt

2 cups all purpose flour

2 cups finely chopped walnuts, almonds, or pecans

1 ½ cups powdered sugar


Directions:

1. Cream together the butter and sugar until smooth. Beat in the vanilla and salt.

2. Add flour in small amounts, beating after each addition. Stir in the nuts until well combined.

3. Divide dough in half. Pack each half tightly, and wrap in plastic. Refrigerate 45 minutes.

4. Preheat oven to 350. Line 2 baking sheets with parchment paper.

5. Remove dough from fridge and use your hands to roll into 1-inch balls. Place dough balls 1 ½ apart on prepared baking sheets.

6. Bake dough balls in preheated oven for 12 to 14 minutes, or until cookies are just beginning to brown around the bottom edges. Do not over bake.

7. Allow cookies to cool for a few minutes. Spoon the powdered sugar into a sifter and dust the cookies with powdered sugar while they are still warm. Let cookies cool completely, then dust them again with powdered sugar. Serve.

Royal Icing For Decorating


Royal icing is a timeless classic. Its smooth, satiny (sometimes glossy) finish adds an elegant look to your baked goods. It can also be worked through a small piping tool, to make fine detailed lines. It is best to keep it tightly covered in a container, or sealed in a piping bag, when you are not directly working with it, as it tends to dry up fast. 

Also, remember there are 2 consistencies when working with royal icing-- "piping" consistency, and "flooding" consistency. The difference is how much water you use. Less water makes a thicker icing for piping. While more water makes a thinner icing for flooding. 

"Piping" is of course for piping lines. This can either be done on the outer edge, or in the middle. 


While "flooding" is used to fill in or flood an entire surface area with a glossy, smooth layer of icing. You most often see this technique being used to decorate holiday or special occasion cookies. It is also used on cakes and other goods. Some people will only use one technique, or the other. But quite often, you will see both techniques being used on the same baked good. 


NOTE: Lining the edges with some piping, is a great way to contain the flow and keep a clean look while flooding, as it creates a barrier. 


Of course, you can also add food coloring for different colors! I strongly recommend "gel" food coloring, because it is more concentrated and it ads less water. Thus there is less impact on the consistency of your icing. 

With that being said-- let's get to the recipe, so you can start decorating!


Royal Icing For Decorating


Ingredients:

2 egg whites

1 lb powdered sugar (454g)

¼ tsp cream of tartar (1g)

1 tsp vanilla (5ml)

2-4 tbsp water (10-20ml) -- less for piping, more for flooding

Directions:

1. Sift powdered sugar into the bowl of a kitchen mixer (you can also use a large bowl with a hand mixer). Add cream of tartar. Blend well a low mixing speed.

2. Add the egg whites, one at a time, while continuing to blend. Add vanilla and enough water to reach desired consistency. If you want it thicker for piping lines, use less water. If you want it thinner for “flooding”, use more water. Decorate as desired.


Saturday, November 12, 2022

Melissa's Chewy Gingerbread Cookies


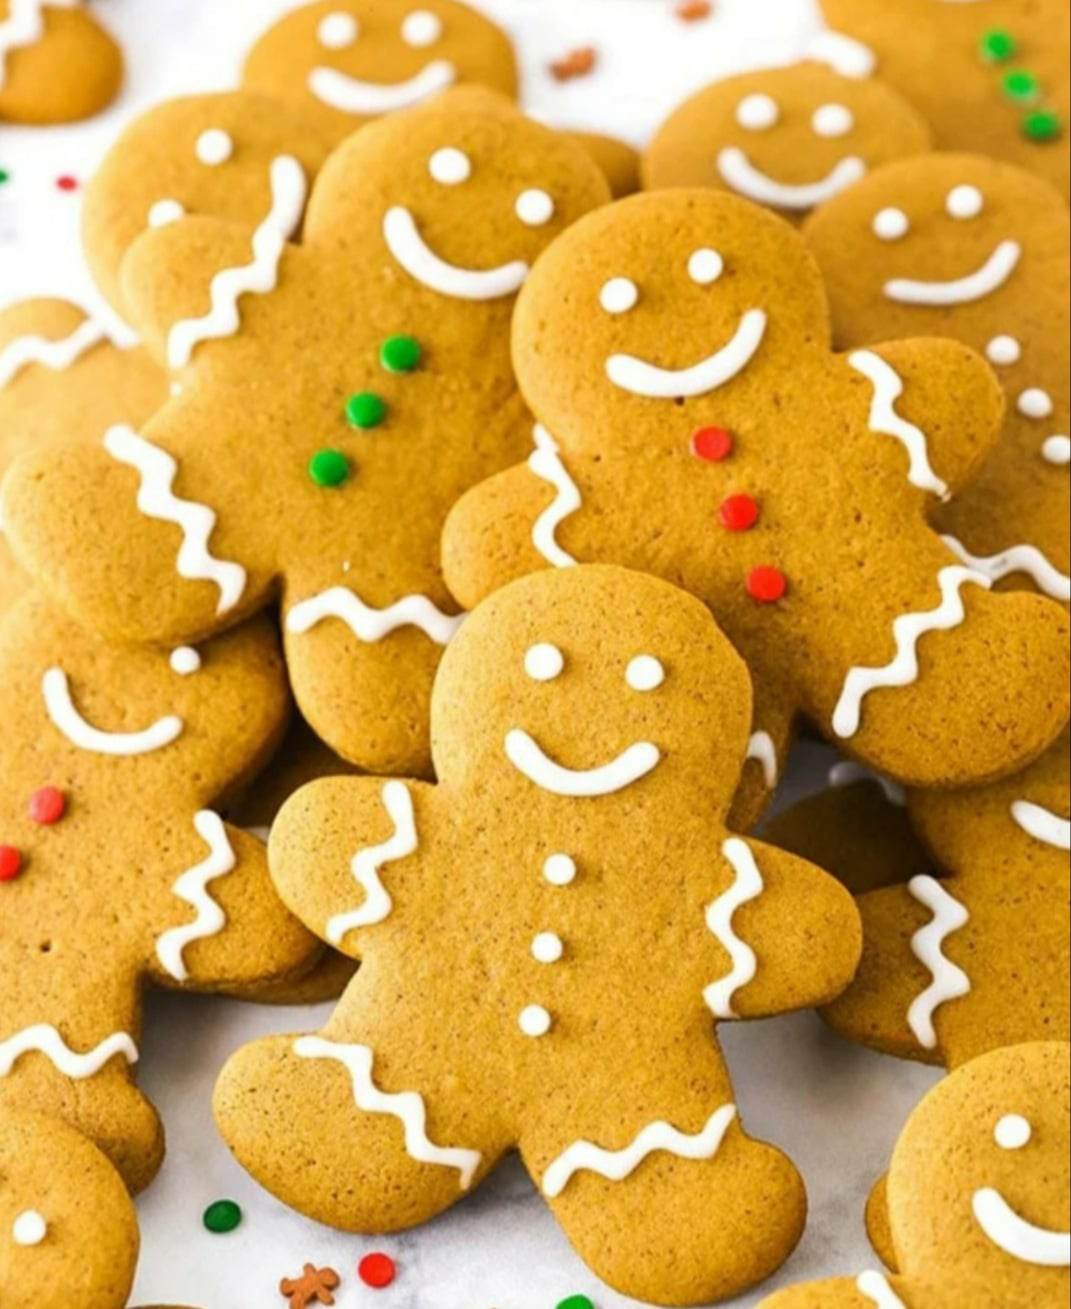
Gingerbread cookies are a favorite during Fall and Winter holidays! But who says you can't have them whenever you want? 

This recipe makes about 24 cookies, using a standard-size gingerbread cookie cutter. You can also use smaller cookies cutters, or do lots of different shapes like Christmas trees, candy canes, snowflakes, etc. 

The decreased flour and the use of brown sugar make for a more chewy cookie. I like to separate the recipe into multiple portions (3 equal portions if you want each to make 8 cookies-- 4 equal portions if you want each to make 6 cookies).  This way, I can bake only one portion. Just enough for a small treat! Then freeze the others for another day. 

Sure, you can buy this dough in the store. But let's be honest... You really only see it during Christmas time. Also, many times when you go looking for it, the store either doesn't have it in yet, or they are out (because people tend to hoard gingerbread dough). But if you know how to make it, you can simply whip up a bunch and freeze it for whenever you need it! Then its just as convenient as the store-bought kind, only it tastes better. 

Melissa's Chewy Gingerbread Cookies

Ingredients:

4 cups all purpose flour (544g)

1 tsp baking soda

2 tsp ground cinnamon

1.5 tsp ground ginger

¼ tsp ground cloves

¼ tsp ground nutmeg

1 tsp salt

12 tbsp (1 ½ stocks) unsalted butter (170g)

1 cup packed brown sugar (220g)

1 large egg

¾ cup molasses (255g)

½ tsp vanilla extract


Directions:

1. In a medium size bowl, sift together the flour, baking soda, cinnamon, ginger, cloves, nutmeg and salt. Set aside. 


2. In a large bowl, cream the butter and brown sugar until well combined. 


3. To the butter/sugar mixture, add the egg, molasses and vanilla. Blend very well. 

** Pro Tip: If you rub a thin layer of cooking oil all over the inside of the measuring container, the molasses will pour out and release from the container much more easily. Don't worry, this won't mess up your recipe, it is too small an amount of oil. 

You may notice that the mixture will begin to separate, looking gritty and clumpy. This is fine, and completely normal. It is just the sugar dissolving and separating from the butter fats and the egg. 


4. Remove about 1/3 to ½ cup of your flour/spice mixture and set aside to use later for rolling out the dough. 

Add the remaining flour/spice mixture to your wet ingredients, mixing only half in at a time. Blend well. 


5. Divide dough into 3 portions. Each portion will make about 8 gingerbread men (do 4 portions if you want each to make 6 gingerbread men). Place dough portions on sheets of plastic wrap and flatten them a bit. Wrap them tightly and place in the refrigerator to cool for 3 hours. This will make them easier and less sticky to roll.


6. Coat your rolling surface lightly with some of the flour you saved. You can also coat your rolling pin. Unwrap a portion of the dough and place on the rolling surface. Roll dough out so it is about ¼ inch thick. 


7. Use a cookie cutter to cut out shapes of cookies. Release the dough from the cookie cutter. Peel away the excess dough from outer edges of the cookie shape and carefully place cookie shape onto a baking sheet lined with parchment paper. Repeat until the entire portion of dough is used up, re-rolling the scraps to cut more. If dough becomes too sticky, place in the freezer a few minutes. If I have a small dough ball left over, I usually roll it into a ball and flatten it slightly, and that will serve as my one round cookie, that I can eat fresh from the oven! 


8. Preheat oven to 350 degrees F (176 C).

9. While oven heats, place the baking sheet with cookie shapes in the freezer for 10 minutes. This helps the cookies hold their shape better in the oven. 

10. Remove baking tray from freezer. Bake cookies at 350 degrees F. for 7 to 10 minutes, depending how hot your oven bakes. Be aware, smaller sized cookies may only need 5 minutes. Check them early! Allow cookies to cool, then decorate and enjoy!  


TIP: You can eat these cookies as they are. Or you can decorate them with Royal Icing in a piping bag. 

Click Here For My Royal Icing Recipe

If you are not big on cookie decorating, a light dusting of powdered sugar adds a festive look. Also, in our family, we often just spread some of Mom's Buttercream Frosting over the top. 

Click Here For Mom's Butter Cream Frosting Recipe


Wednesday, October 12, 2022

Pecan Rolls / Sticky buns / Butterscotch Rolls / Monkey Bread


Originally, I got this recipe from an extended family member named Bonnie. It was titled "Bonnie's Pecan Rolls". We (me, my brothers and sisters) make them for all the major holidays like Thanksgiving, Christmas, sometimes Easter. We prep them the night before, then wake up and put them in the oven to enjoy at breakfast. 


Some make these with pecans, and others make it without. There are many names for this dish, too. The name usually depends where you are from. Some popular names are: "Pecan rolls", "monkey bread", "butterscotch rolls" and those who grew up in areas with Pennsylvania Dutch Amish influence may know these as "sticky buns". Whatever you call them-- these are amazingly delicious! They're sweet, buttery, soft, and melt in your mouth. There are even more variations on this recipe than there are names. This version makes them very easy to make and enjoy, any time you want. 


Pecan Rolls / Sticky buns / Butterscotch Rolls / Monkey Bread

Ingredients:

½ cup butter (113g)

½ cup brown sugar (100g)

1/2 box cook-and-serve Jello Butterscotch Pudding Mix

1 tsp. Ground cinnamon

A handful of chopped pecans (optional)

12-15 Rhodes Dinner Rolls (the raw, frozen balls) depening on the size of your baking pan. If you don’t have them locally, any frozen, raw dinner dough balls will do. They are about the size of a golf ball.

Tip: A round bundt pan is most commonly used, and more festive. But you can use any deep-dish baking pan you have. You want the rolls to fit loosely, bout halfway up the pan when frozen/raw.


Directions:

1. Melt butter and sugar in a saucepan over medium heat, until sugar is dissolved. Stir in the half-box of pudding mic and cinnamon, blend well. Remove from head and set aside. 


2. Grease baking pan genrously. If using chopped nuts, sprinkle them into the bottom of the baking pan.

3. Place frozen dinner rolls in the bottom of the baking pan, evenly and loosely. Pour sugar/pudding mixture over frozen rolls. Cover with a towel or plastic wrap. Let rise overnight 8 to 10 hours, but no longer, or else they may delfate). 


4. Preheat oven to 350 F (176 C).

5. Uncover rolls very gently, to avoid deflating them. Place rolls/baking pan on a baking sheet to catch any mixture that may bubble over during baking.

6. Bake 25 to 30 minutes, depending on your oven.

7. Carefully remove from oven. Place a large plate or platter on the counter and turn the roll pan upside-down over the plate, to transfer the rolls onto the plate. Let rolls stand for 10 minutes. Serve warm.


Crunchy Peanut Butter Chicken - Chinese Buffet Style


This is my absolute favorite dish from Chinese buffets, although not ever buffet has it. So it can be hard to find. You will notice that I have borrowed the marinade and peanut sauce from my Chicken Satay recipe, because those have the closest flavor to the chicken dish from the buffets. But instead of grilling the chicken on wooden skewers and dipping it in the sauce, we are breading/frying the chicken and drizzling the sauce over it-- the way they do at the buffets.

Ingredients:

3 lbs boneless, skinless chicken breast

2 cups panco breadcrumbs

¼ cup unsalted peanuts

Cooking oil of your choice (enough to keep the bottom of your pan in ¼ inch coating)

Marinade from my Chicken Satay recipe

Peanut Sauce from my Chicken Satay recipe  


Chicken marinade:

¼ cup sweetened condensed milk

½ cup finely chopped lemon grass

3 tablespoons soy sauce

1 tablespoon curry powder

Fresh ground pepper


Satay Sauce (makes about 2 cups of sauce):

13.5oz can coconut milk (save ¼ for basting meat)

3 tsp curry paste (3 tsp curry powder mixed with a tiny amount of water to form a paste)

1 tablespoon soy sauce

1 tablespoon sugar

4 to 6 tablespoons peanut butter (I like crunchy/chunky peanut butter for a more authentic touch)


Directions:

1. Flatten the chicken breasts with a mallet until they are about ½ inch thick. Combine the marinade ingredients together in a bowl (chicken included). Blend well and let marinade in the refrigerator for 1 hour.

2. Remove chicken from marinade bowl, leaving any extra marinade behind. Keep the panko bread crumbs in a bowl. If using peanuts, place them in a plastic zip bag and crush them with a rolling pin (or whatever you have), or pulse them in a food processor until they look like bread crumbs. Add the peanuts to the bread crumbs and blend well.


3. Turn the chicken over in the bread crumbs until well coated.


4. Heat oil in a large skillet over medium to mendium-high heat. Fry the coated chicken in the oil until both sides are golden. Remove from oil and let chicken drain on a rack, or paper towel.

5. Prepare the Satay sauce by first warming a skillet over medium heat. Pour in the ¾ can of coconut and simmer for about 30 seconds. Add the curry paste, blend well. Add the soy sauce, sugar and peanut butter, blend very well, making sure all the peanut butter is evenly incorporated. Simmer an additional 30 seconds. You can use more or less peanut butter or coconut milk, depending how thick or thin you like your sauce. Remove from heat and pour sauce into a bowl.


6. Slice chicken into ½ inch strips. Transfer to a plate. Drizzle sauce over the top of the chicken and serve.

TIP: You can serve the chicken on its own, or with your favorite side, or over rice. Some people even serve it over a salad.